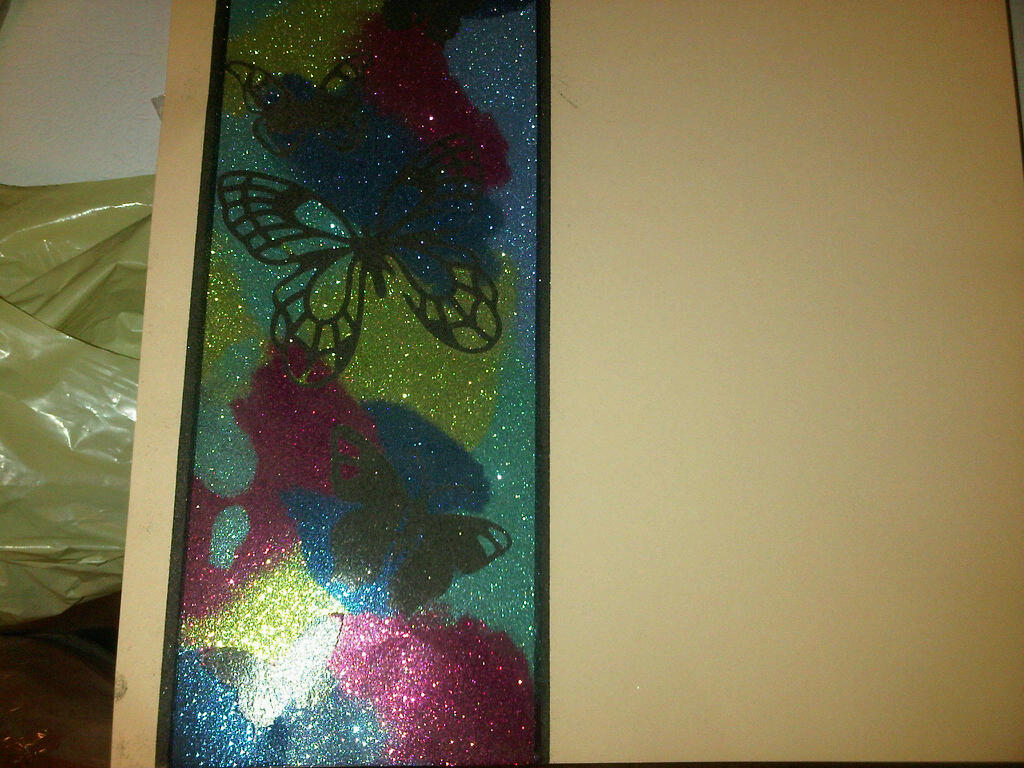
Good evening ladies and gents. Tonight for your viewing pleasure I have what may be my favorite page I have done ever. I will state straight up that this is a scraplift from the ladies at Carosel Rubber stamps.

Ok so for the items used
- 115 mm and 2mm sookwang doublesided tape
- several colours glitter ritz
- mask shapes (plastic is the easiest to get off, but paper works too)
- 1 piece of cardstock
- mini muffin papers (I will explain later)
- large craft mat or scrap piece of paper (has to be bigger than the paper you are working on)
- paint brush or papertowel
- An apron or garbage bag to cover yourself in....
Ok so here we go. First make sure that you have some clean space to work in because the tape is SUPER sticky. If you have one of those anti-static bags for embossing, rub down your cardstock and your craft mat, it will make things easier in the long run. Glitter ritz has a static charge to it, so it likes to stick.
- Put your tape as you would like it on your page. I won't judge you at all if you would like to cover your entire page, I know how awesome this looks! Remove backing and place masks how you would like them. Ensure that they are stuck down well, or glitter will sneak underneath and your design won't look as crisp
- Pour your first colour of Glitter ritz into the muffin papers. I find this is the easiest way to contain them, but you could also use a spoon or a straw. Gently cover the areas you would like in this colour. Gently use your finger to burnish (rub) the glitter into the area. This just ensures that you get a really rich covering and that other colours won't stick in the spaces
- This is the hardest part right now. You can't just tip to the side like you would with embossing powder or you will end up with a line of glitter. You must flip the page over completely in one swift motion, and then tap your layout. This will put all the excess onto your craft mat, then you can put as much as you can back in the jar. Make sure that your mat is completely clean before moving on to the next colour, so use the paintbrust or the paper towel to wipe it off. If you are using one, give it a static sweep too.
- Repeat with all of the colours until the tape is filled.
- To finish off your creation, use the 2mm tape to create a nice clean border. Lift up your masks, then use black (or your colour of choice) to fill in the borders.
- To ensure that the glitter doesn't invade your house, do another round of burnishing. The muffin cups and your fingers work well for this but you can also use a brayer.
- Add in your pictures, and if you get excited a few accents. I used a Close to my Heart crocheted flower, a pewter brad and a Prima flower that matched my glitter colours. To add some dimention I also added some butterflies the same as what I had used for masks, but only attached them in the center. Remember you need heavy duty adhesive like liquid glass when attaching to glitter

Have fun!! Love to see what you would do with this technique.
In other news, I promise better pictures from now on. I think that the scanner is going to work out.